21 Home Inspector Tools of the Trade
My name is Chris Chirafisi, and after over 2,000 home inspections, I have an idea or two on the tools you need on the job.
Whether you’re a new or seasoned home inspector, the right tools will help you do your job more efficiently and more effectively. These 21 tools have been staples of my home inspection tool bag for years.
Here’s a rundown of my picks plus a few tips on shopping for the best home inspector tools on a budget.
Read to the end for tips on finding the right tools for you!
Home Inspector Tools to Carry with You
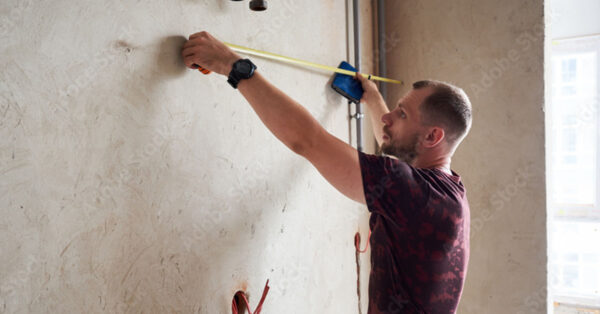
#1 – Tape Measure
Ahh, starting off with a good ol’ classic. A good tape measure, whether it’s a well-functioning manual tape measure or a laser measure, helps you quickly measure specific areas and note them in your inspection report. These are great, portable tools to have on your belt or in a bag you can carry with you on the job.
#2 – Telescoping Mirror
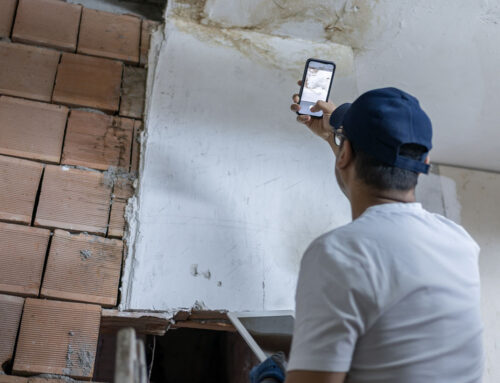
A lightweight telescoping mirror helps you easily and safely see into confined areas and higher areas. I also use one to check for dangerous down-drafting with atmospheric gas water heaters.
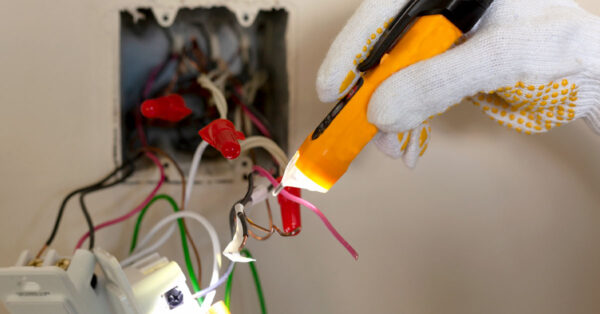
#3 – Voltage Tester
A non-contact voltage tester helps you identify live electrical wiring, such as old knob-and-tube wiring that might be present in an attic. This tool is similar to the next tool on the list, but they do not test the exact same things. This tools specifically looks at the presence of voltage in a specific wire, outlet, or electrical component and if it is working.
Picture
#4 – AFCI/GFCI Circuit Tester
Similar to the voltage tester, the AFCI/GFCI circuit tester specifically tests the devices connected to the wiring. This type of electrical tester tests and ensures arc-fault and ground-fault circuit interrupter devices are working.
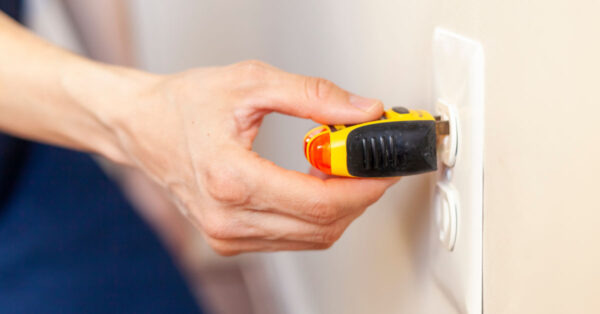
#5 – Two-Prong Outlet Tester
While newer homes usually have 3-prong GFCI outlets throughout, you might still come across two-pronged circuits in older homes. A two-prong tester helps you quickly test and confirm the voltage.
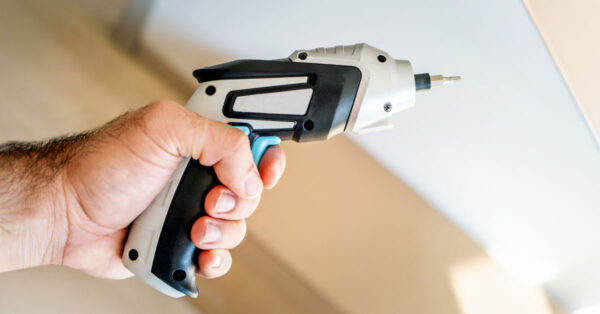
#6 – Rechargeable, Battery-Powered Screwdriver
Using a rechargeable, battery-powered screwdriver speeds up the process of removing electrical panels. These panels often have six screws that are time-consuming to remove and can hurt your wrist when removed with a regular screwdriver.
#7 – 11-in-1 Screwdriver
I typically carry an 11-in-1 screwdriver as a backup. This type of screwdriver has interchangeable parts and functions as 11 tools in one. Tools like this are often quite a bit smaller than the screwdriver you typically carry, which can make them a little trickier to use, but excellent for portability, so you don’t need to bring a big heavy toolbox with you to every job if your auto screwdriver isn’t working.
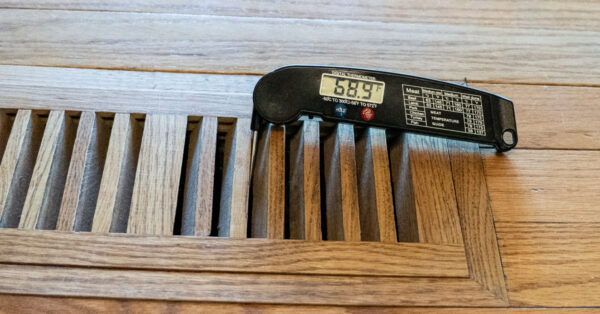
#8 – Dual Probe Digital Thermometer
A dual probe digital infrared thermometer takes quick temperature readings of HVAC ductwork outlets, air return vents, water temperature, and surface temperature.
#9 – Non-Invasive Moisture Meter
This type of moisture meter is ideal for checking moisture stains. You’ll need to determine if the stain is the result of an active moisture issue (and mold issue) or not.
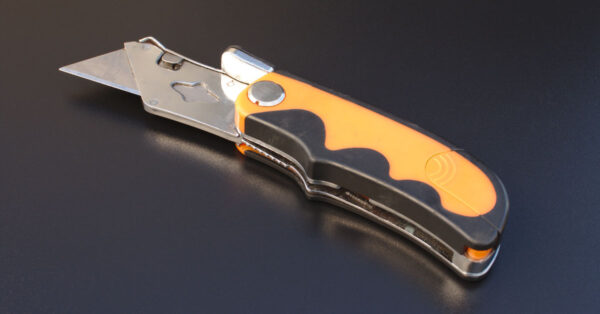
#10 – Pocket Knife
Occasionally, I find a service panel that is painted around the edges. While I’m not required to, I will carefully trace around the edges of the panel using my X-ACTO Knife and neatly remove it. A collapsible pocketknife, X-ACTO knife, or boxcutter are all good portable options for this.
#11 – Small Infrared Camera
I mainly use this camera in homes that have radiant floor heating, baseboard heaters, and/or radiators to confirm they are working properly. Not every inspector will start out with one of these, which is why I wanted to include it on the list. This can make the job much easier once you are more familiar with how to test these things manually.
#12 – Carbon Monoxide Detector
This is another nifty trick that I like to use. I have a pocket-sized carbon monoxide detector that clips onto my shirt. I’ll turn it on before I walk into a home for an inspection. If the device goes off, I’ll know that there are unsafe levels of carbon monoxide present.
#13 – LED Flashlight
I use a high-powered rechargeable LED flashlight to get a good look into dark spaces. My flashlight attaches conveniently to my belt clip. An LED headlamp is also helpful for hands-free inspections in attics and crawl spaces. These days, you can get one of these in just about any size, from a headlamp to something smaller and flatter that can slide right into your toolbelt for easy access.

#14 – Gas Leak Detection Solution
For many years, I used an electronic combustible gas detector to identify natural gas leaks in pipes, but I’ve since found a more cost-conscious tool. Now I use a gas leak detection solution that produces large bubbles when it detects a leak. An entire bottle is $8 compared to $150 for an electronic version that needs to be calibrated yearly.
#15 – Binoculars
A good pair of binoculars helps you see the blind spots on a roof and around chimneys without walking the roof. As with most of the tools on this list, you’ll want some that are collapsible, or at least a portable size you can easily tuck into a pouch.
#16 – Tool Pouch
I keep my tools in a tool pouch that attaches to my belt and allows me to be hands-free. It’s a good idea to use one that securely zips closed, so you don’t lose any tools when you’re climbing up a ladder or moving through a crawl space.

Home Inspector Tools to Keep in Your Vehicle
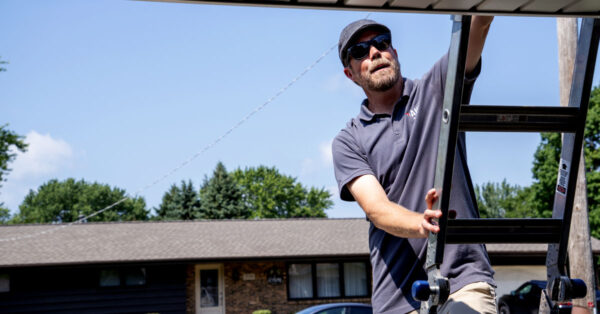
#17 – Ladder
I use a 17-foot ladder and it’s the only ladder I carry. Other types of ladders—like telescoping, extending, articulating, and combination ladders—are popular with some home inspectors. It’s all up to you.
#18 – Drop Cloth
Things can get messy when inspecting attics. I keep a drop cloth on hand to catch dirt and loose insulation that may fall to the ground or get on my clothes. These can be any size, but it’s important to aim for the ones that are at least 10oz thick, to avoid any potential leaking.
If you are dealing with moisture, remember to leave your drop cloth spread out to dry after use. Otherwise, you risk mold and mildew growth on your cloth.
#19 – Level
I keep both a 6-foot level and a 4-foot level on hand to check if walls or floors are level or bowing at any point. The physical ones are a good place to start, but laser leveling tools could be worth a small splurge once you start taking more business.

#20 – Protective Gear
Protective gear is important. I usually have knee pads with me to help with comfort, as well as a respiratory mask, latex gloves, and safety glasses. You never know what kind of things you might pick up on the job — respiratory illnesses are no joke!
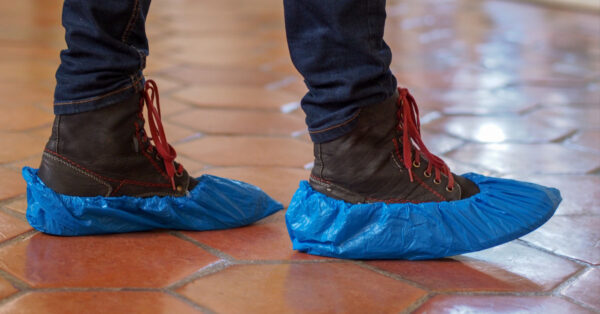
#21 – Indoor Shoes
I always have clean, indoor-only shoes with me so I can minimize the dirt I’m tracking inside a client’s home. Your clients will be thankful! You don’t wanna be the inspector that messes up those shiny floors. You can also use shoe covers instead. Many homes that are open for showings will offer these, but it’s always good to carry a box of your own in your car just in case.
How to Choose the Best Home Inspection Tools on a Budget
As you’re shopping for tools, read reviews from sites like Amazon and Lowe’s to gauge their quality. You can also peruse Reddit to read more in-depth opinions on what tools other inspectors are using. I like to stick with brands that stand behind their products and have a solid warranty and replacement policy. Price shop among these brands and find the tool that will work best for you.
Keep in mind that you can always start by buying a home inspector toolkit to get all the basic tools you need and add-on tools or upgrade overtime.
Want more advice on the best tools and gadgets for home inspection? Here’s more tips on how to choose your home inspector tools.
Learn the Tools of the Trade and More with AHIT Home Inspection Training
Learn the standard procedures of home inspection and understand the tools every home inspector needs with AHIT home inspection training. Find out your state license requirements and get a step-by-step guide for becoming a home inspector in your state.